Skip to content
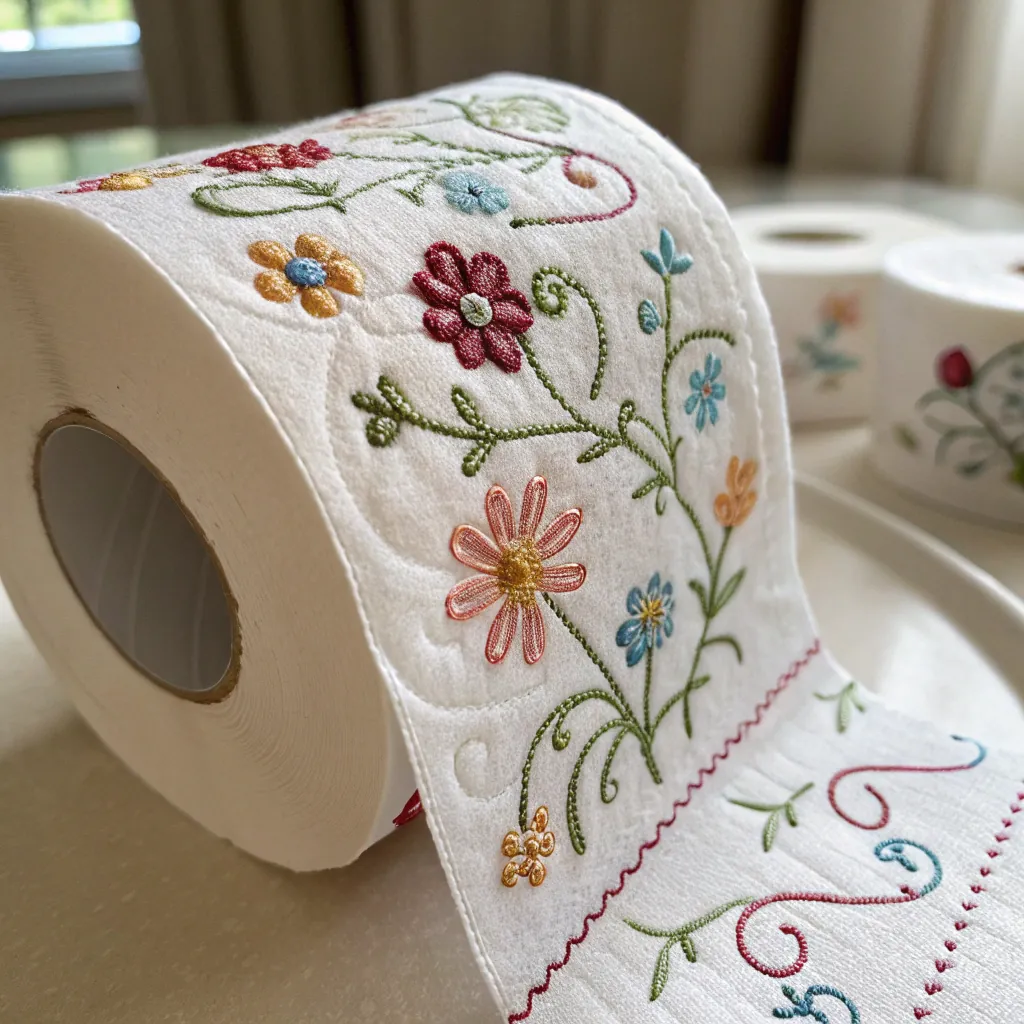
Embroidery on toilet paper sounds risky. Many people worry it will tear, waste time, or fail fast. That fear stops creative ideas before they even start.
Yes, you can embroider on toilet paper if you use the right method, light tension, and proper support. With simple tools and patience, toilet paper can hold stitches for decoration, gifts, or display.
Once the fear of tearing is gone, the process becomes clear. The key is not skill, but control. Paper reacts differently than fabric, so each step matters.
Is toilet paper strong enough for embroidery?
Many people think toilet paper will break as soon as a needle touches it. This belief feels logical, but it is not always true.
Toilet paper can hold embroidery stitches if the design is light, the paper is layered, and the tension stays low. Single-ply paper fails fast, but multi-ply paper works much better.
To understand strength, we must first understand how toilet paper is made. Toilet paper is designed to dissolve in water, not to carry weight. That sounds bad for embroidery. But embroidery does not pull straight down like weight. It pulls sideways with tension. That difference matters.
What type of toilet paper works best?
Not all toilet paper behaves the same way. Thickness, ply count, and fiber type all change the result.
- 2-ply or 3-ply toilet paper works better than single-ply
- Virgin pulp paper is stronger than recycled paper
- Embossed paper can tear faster because the pattern breaks fiber lines
I once tested several rolls side by side. The cheapest single-ply tore before I finished one letter. A soft 3-ply roll held a full small pattern without damage. The difference was clear.
How stitch density affects strength
Stitch density means how close the stitches sit together. Dense stitching creates many holes in one small area. Paper does not like that.
- Large open stitches last longer
- Satin stitches cause tearing
- Straight stitches are safer than filled shapes
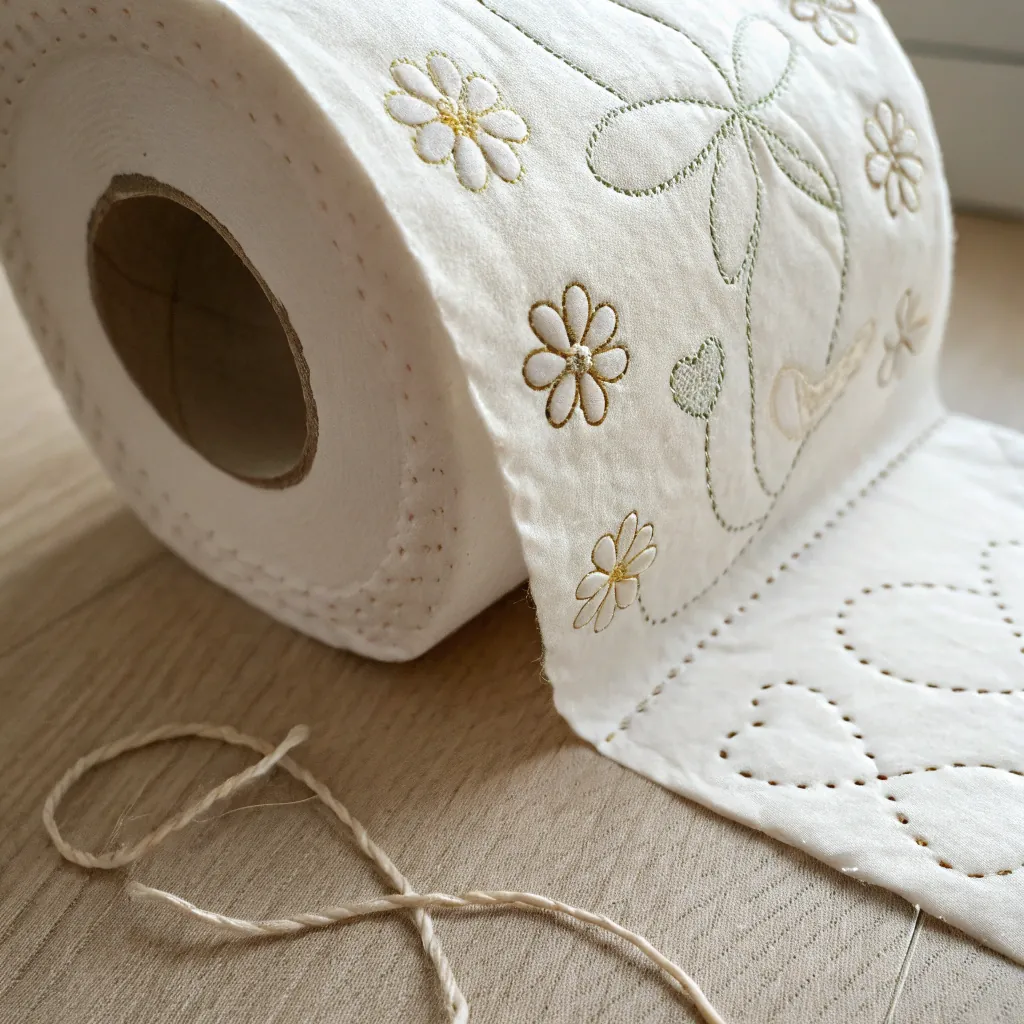
Light designs always win on paper. Letters, outlines, hearts, and symbols work best.
Thread choice and tension
Thread matters more than most people expect. Thick thread pulls harder. Tight hands pull harder too.
- Use single strand embroidery floss
- Avoid pulling the thread tight
- Let stitches rest on the surface
Below is a simple comparison table based on strength testing:
| Factor | Low Risk | High Risk |
|---|---|---|
| Paper type | 3-ply virgin pulp | 1-ply recycled |
| Stitch type | Running stitch | Satin stitch |
| Thread | Single strand | Full 6 strands |
| Tension | Loose | Tight |
Toilet paper is not strong like fabric. But embroidery does not need fabric-level strength. It only needs stability for light decoration.
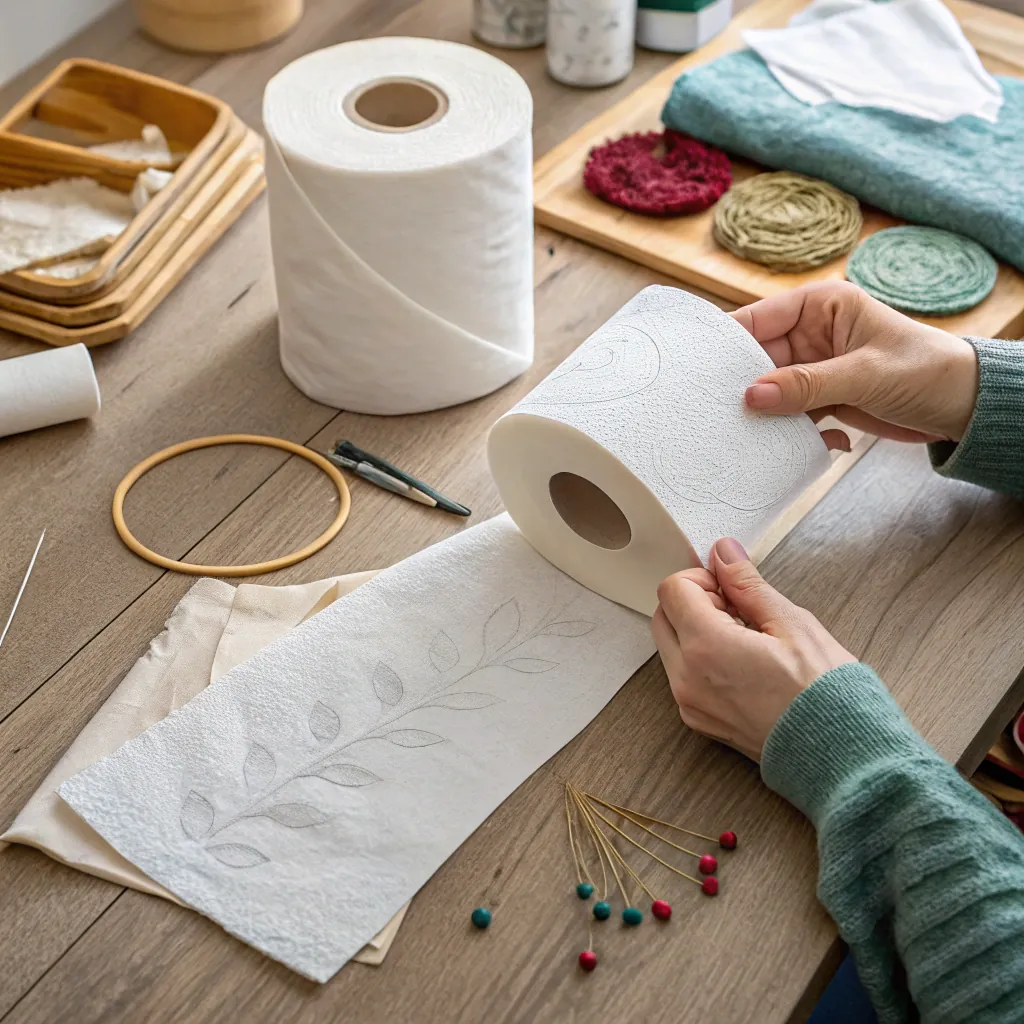
What tools are needed to embroider on paper?
Many beginners assume special tools are required. That is not true. Paper embroidery uses fewer tools than fabric embroidery.
You only need a needle, light thread, scissors, and a soft backing to embroider on toilet paper. Fancy hoops and machines are not required.
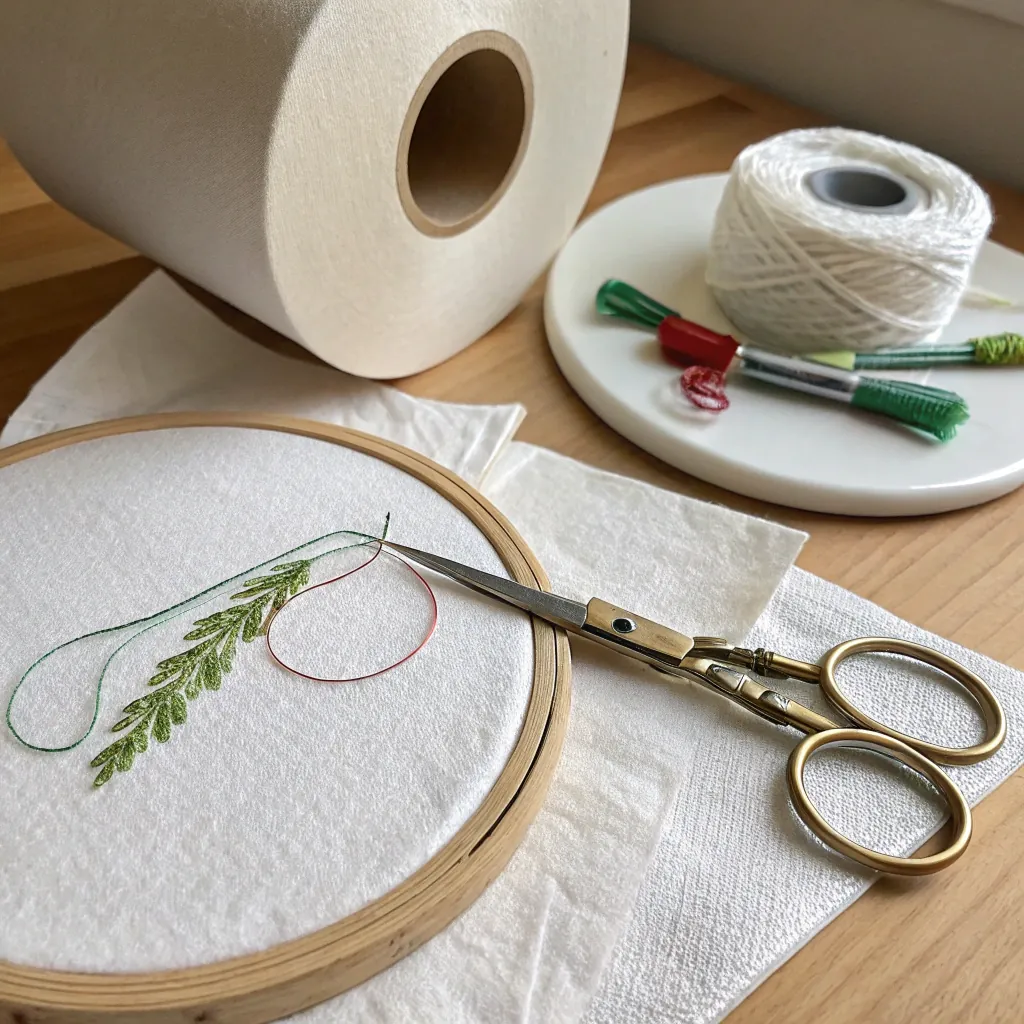
The goal is control, not speed. Every tool should reduce stress on the paper.
Choosing the right needle
Needles punch holes. Large holes weaken paper. Small holes keep fibers intact.
- Use a fine embroidery needle
- Avoid thick or blunt needles
- Sharp tips work better than rounded tips
A smaller needle slides through paper instead of tearing it open.
Thread selection basics
Thread weight changes how much force is applied to each hole.
- Cotton embroidery floss is best
- Use one strand only
- Avoid metallic or textured threads
Metallic threads cut into paper like wire. They look nice but cause failure fast.
Backing and surface support
Never stitch toilet paper in the air. Support under the paper spreads pressure.
Good backing options include:
- Cardboard
- Felt
- Soft cloth
- Foam sheet
Place the toilet paper on top of the backing. The needle goes through both layers. This keeps the paper from bending.
Tools you should avoid
Some tools cause more harm than help.
- Embroidery hoops flatten and stretch paper
- Sewing machines move too fast
- Thimbles push too hard
Paper needs gentle hands, not force.
Simple setup checklist
| Tool | Required | Notes |
|---|---|---|
| Fine needle | Yes | Size 7–9 works well |
| Embroidery floss | Yes | Use one strand |
| Scissors | Yes | Sharp tip |
| Backing board | Yes | Any soft surface |
| Hoop | No | Can tear paper |
Paper embroidery is slow work. Simple tools help you stay careful. The fewer tools you use, the more control you keep.
Can I use embroidery for novelty toilet gifts?
Many people discover toilet paper embroidery through gifts. It feels funny, unexpected, and personal.
Yes, embroidered toilet paper is ideal for novelty gifts, decorations, and keepsakes, not for real bathroom use. It works best as a display item.
This kind of embroidery is about message, not function. Once stitched, the toilet paper should not be used as toilet paper.
Popular gift ideas
Some designs appear again and again because they work well.
- Wedding date and names
- Baby shower jokes
- Birthday messages
- Holiday symbols
- Inside jokes
Short words and simple shapes always last longer.
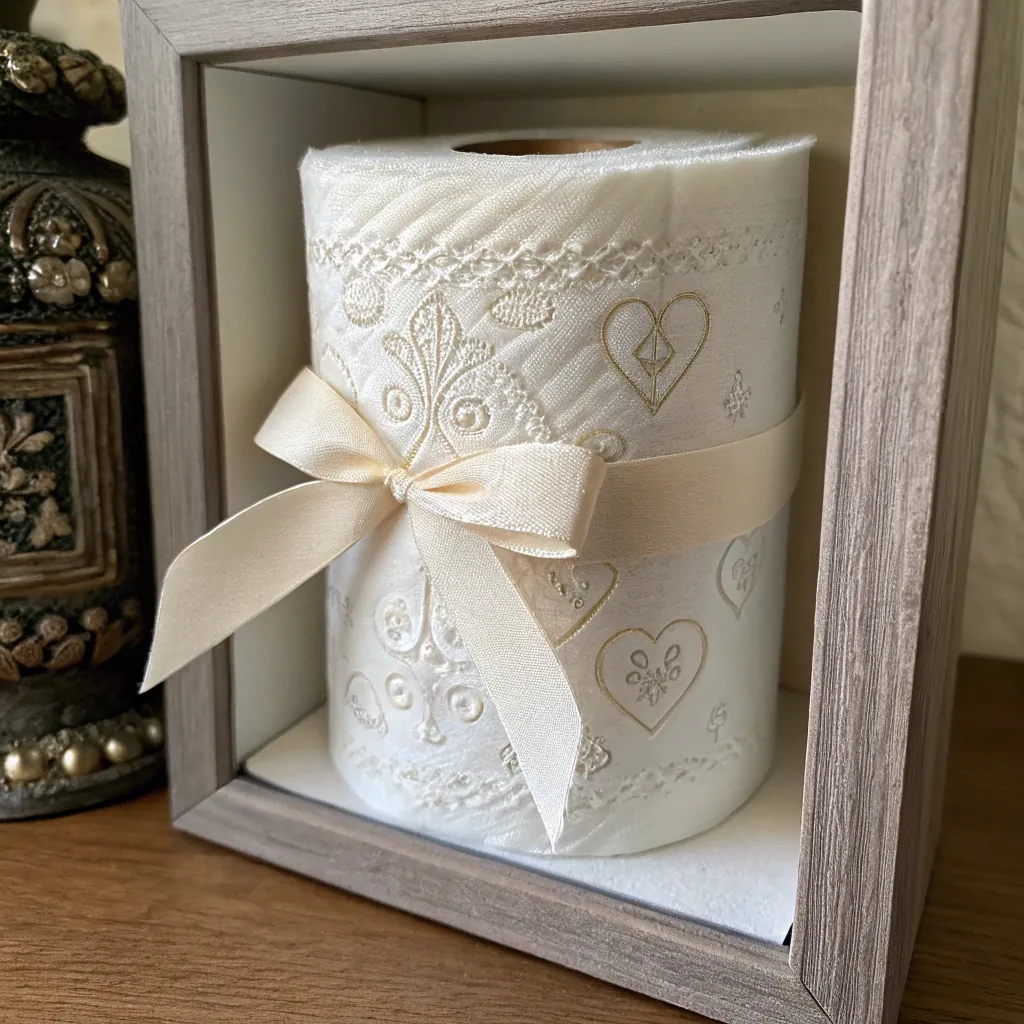
How people display embroidered toilet paper
Most people do not leave it loose on a roll holder.
Common display methods:
- Framed in a shadow box
- Rolled and wrapped with ribbon
- Placed in gift baskets
- Mounted on cardboard backing
Display protects the stitches and keeps moisture away.
Safety and hygiene notes
Toilet paper embroidery is decorative only. It should never be used after stitching.
- Needle holes weaken paper
- Thread traps dirt
- Paper absorbs moisture
This is why embroidered toilet paper belongs on shelves, not in bathrooms.
Gift durability expectations
Paper embroidery does not last forever. That is part of its charm.
- Stored dry, it can last years
- Humidity shortens life
- Direct sunlight weakens paper
Here is a simple durability comparison:
| Storage Condition | Expected Life |
|---|---|
| Dry, framed | 3–5 years |
| Dry, rolled | 1–2 years |
| Humid room | Few months |
| Bathroom | Weeks |
Novelty gifts do not need long life. They need impact. Embroidered toilet paper delivers that quickly and clearly.
How do I stabilize toilet paper for stitching?
Stabilization is the most important step. Without it, even strong paper will fail.
To stabilize toilet paper, layer it, support it from below, and limit movement while stitching. Stability protects the paper fibers from tearing.
Paper moves easily. Every movement increases stress around the needle holes.
Layering methods
Never stitch on a single sheet.
- Fold toilet paper into 2–4 layers
- Keep edges aligned
- Do not glue layers together
Layering spreads tension across more fibers.
Temporary backing options
Backing does the real work during stitching.
Common backing choices:
- Scrap fabric
- Felt sheet
- Paper towel
- Thin cardboard
Backing should be larger than the design area.
Hand position and movement
Your hands control tension more than tools.
- Hold paper flat, not tight
- Move the needle slowly
- Do not pull thread hard
I learned this the hard way. Rushing caused tears. Slowing down fixed everything.
Pattern transfer tips
Drawing directly on toilet paper is risky.
Safer options:
- Light pencil dots
- Pre-punched holes
- Trace through window light
Heavy ink bleeds and weakens paper.
Step-by-step stabilization flow
- Cut backing material
- Fold toilet paper into layers
- Place paper on backing
- Lightly mark pattern
- Stitch slowly
Stabilization is not about strength. It is about balance. When paper stays flat and supported, stitches behave.
Conclusion
Embroidering on toilet paper is possible with care, light designs, and patience. With proper stabilization and simple tools, paper becomes a creative surface for unique decorative ideas.