Installing a recessed toilet paper holder can seem tricky, especially if your bathroom walls are thick. Many people struggle with fitting it without proper guidance.
A recessed toilet paper holder sits flush inside the wall, saving space and giving your bathroom a clean look. Proper installation ensures it is secure, level, and functional for daily use.
Learning the right steps will make installation easier and prevent mistakes. Let’s explore the tools, techniques, and best practices to make your recessed holder installation smooth.
What tools are needed for recessed installation?
Finding the right tools is crucial for a clean and safe installation. Using the wrong tools can damage your walls or leave the holder loose.
You will need a tape measure, level, pencil, drywall saw, drill, screws, screwdriver, and possibly a stud finder. These tools help mark, cut, and secure the holder correctly.

When preparing for installation, start by measuring the area where the holder will sit. A stud finder helps locate studs to avoid drilling into them. The drywall saw or keyhole saw is perfect for cutting the wall opening neatly. A level ensures the holder is straight, preventing awkward paper angles. Drills and screwdrivers attach the holder securely. Having a small utility knife can help smooth edges around the cutout. Safety gloves and goggles are recommended to prevent injuries. Using the right tools avoids extra damage and keeps the installation tidy.
Recommended Tools Table
| Tool | Purpose | Notes |
|---|---|---|
| Tape Measure | Measure wall space and height | Use metric or imperial units |
| Level | Ensure holder is straight | Small bubble level works fine |
| Pencil | Mark cut lines | Use light marks to erase mistakes |
| Drywall Saw | Cut wall for holder | Keyhole saw is also suitable |
| Drill | Create pilot holes | Match drill bit to screws |
| Screwdriver | Attach holder | Manual or electric |
| Stud Finder | Locate wall studs | Avoids drilling into studs |
| Utility Knife | Smooth edges | Optional but helpful |
| Safety Gear | Protect hands and eyes | Gloves, goggles recommended |
Can I install a recessed holder without cutting drywall?
Many homeowners worry about cutting their walls. The answer depends on your wall type and the holder design.
Most recessed holders require cutting into drywall or other wall material. Without cutting, you can only use surface-mounted or over-the-tank holders.
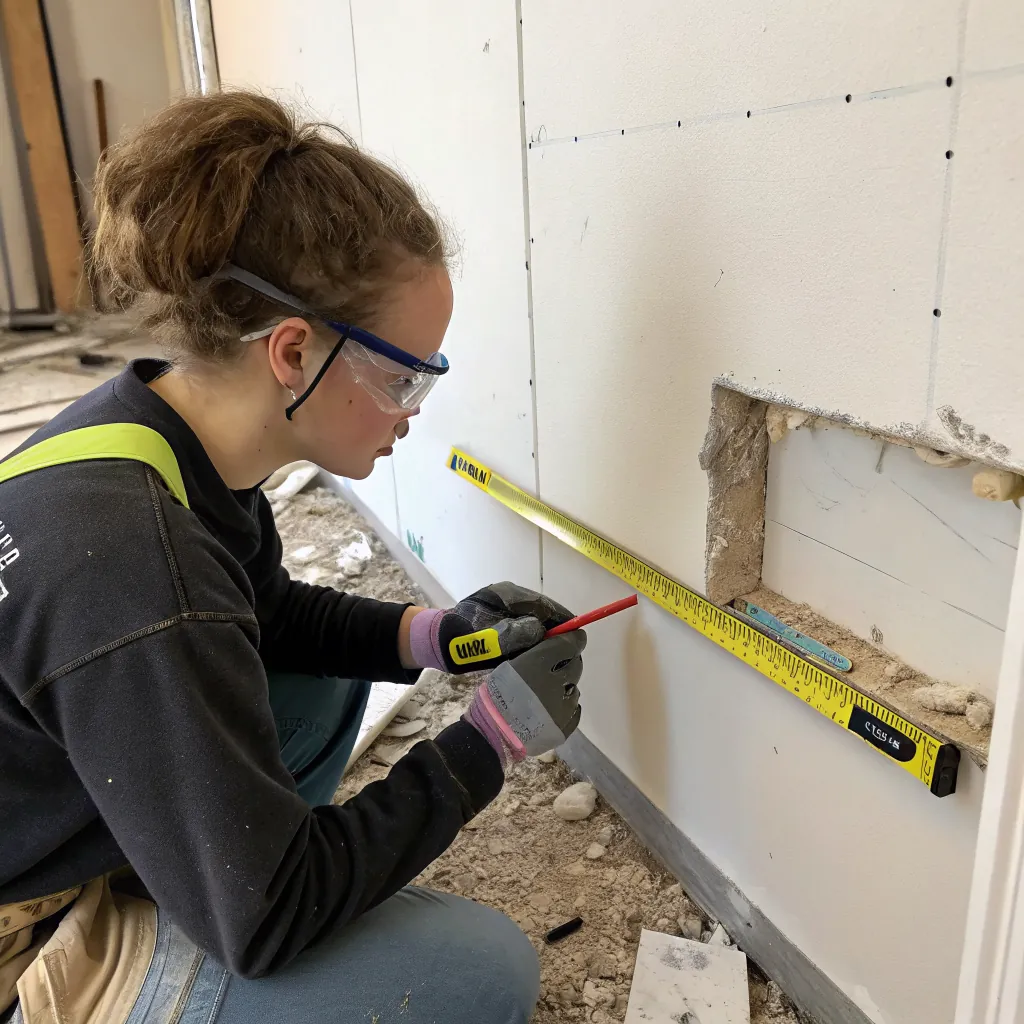
Cutting drywall may sound intimidating, but it is necessary for a true recessed installation. Some modern holders offer minimal-cut designs, but they still need a small opening for the holder box. Avoid cutting too large or too small; measurements must match the holder’s dimensions. You can also check wall thickness before cutting. In some cases, adding a backing board inside the wall can help secure the holder if studs are not in the ideal location. Always wear safety gear and take your time to prevent cracks or uneven edges. Cutting drywall is manageable if done carefully, and it ensures a professional finish.
Tips for Cutting Drywall
- Measure twice and mark clearly.
- Cut slowly with a drywall saw for clean edges.
- Remove debris and smooth edges before inserting the holder.
- If mistakes happen, use joint compound to patch small gaps.
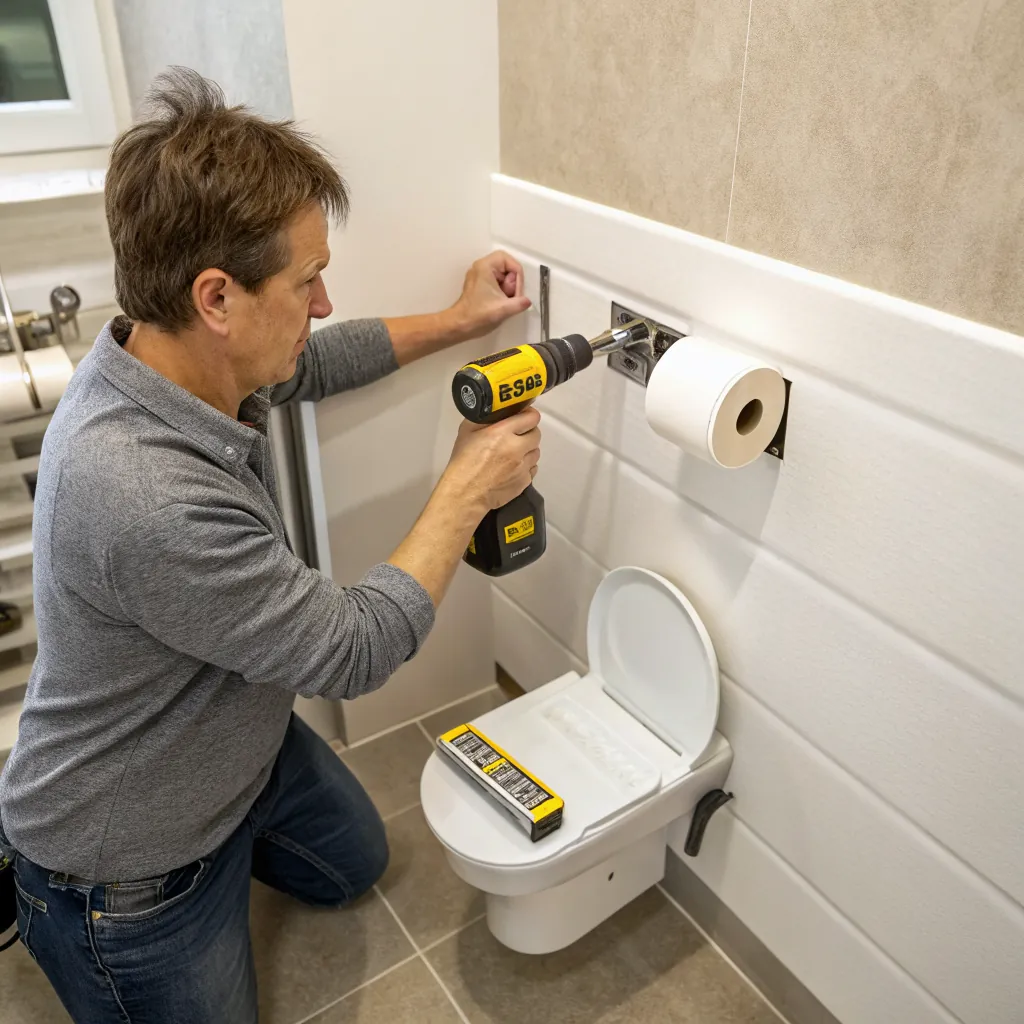
What are the steps to properly mount a recessed holder?
Mounting the holder requires precision and patience. Skipping steps can result in a loose or tilted holder.
The main steps are measuring, marking, cutting, inserting the holder, leveling, and securing it with screws. Each step ensures a safe and functional installation.
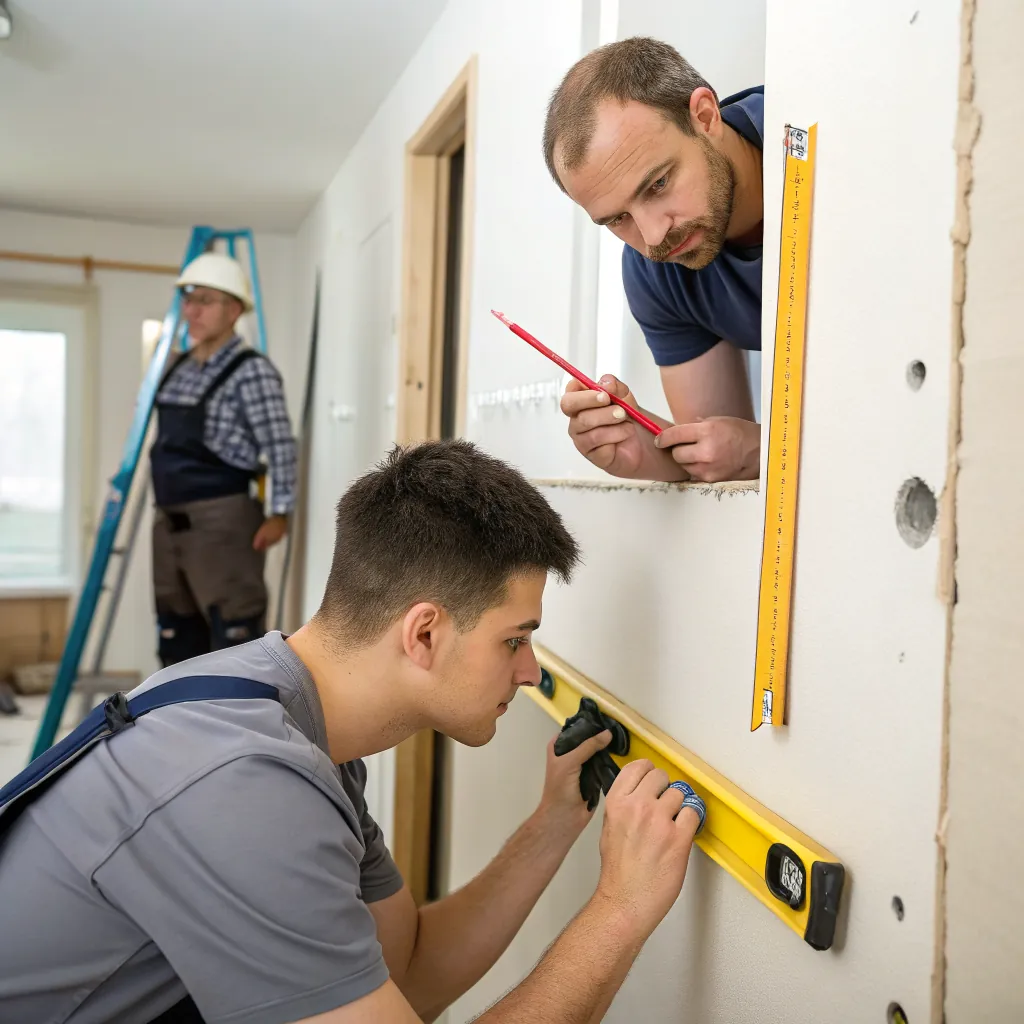
Start by measuring the height and location. Mark the wall with a pencil using a level to ensure horizontal alignment. Use a drywall saw to cut a hole matching the holder’s dimensions. Test fit the holder; it should slide in snugly. Check again that it is level. Drill pilot holes if necessary, then screw the holder into place using appropriate fasteners. Some holders come with brackets or side supports; make sure to follow manufacturer instructions. Once installed, check that the roll spins freely and that the holder does not wobble. Small adjustments may be needed before final tightening. Adding a backing support can provide extra stability if wall material is thin or brittle.
Step-by-Step Installation Table
| Step | Action | Tips |
|---|---|---|
| 1 | Measure height and location | Standard is 26 inches from floor, adjust for user preference |
| 2 | Mark wall with level | Draw the outline of the holder |
| 3 | Cut wall opening | Use drywall saw carefully |
| 4 | Test fit holder | Adjust edges if needed |
| 5 | Drill pilot holes | Prevent cracking and ensure screw grip |
| 6 | Insert and secure holder | Use screws and brackets as instructed |
| 7 | Check alignment | Make sure holder is level and stable |
| 8 | Install toilet paper roll | Confirm smooth rotation |
Should recessed holders be installed at standard height?
Height placement affects comfort and accessibility. Installing too high or too low can be inconvenient.
Most guidelines suggest 26 inches from the floor to the holder center. This fits average users but can be adjusted based on personal preference or bathroom design.
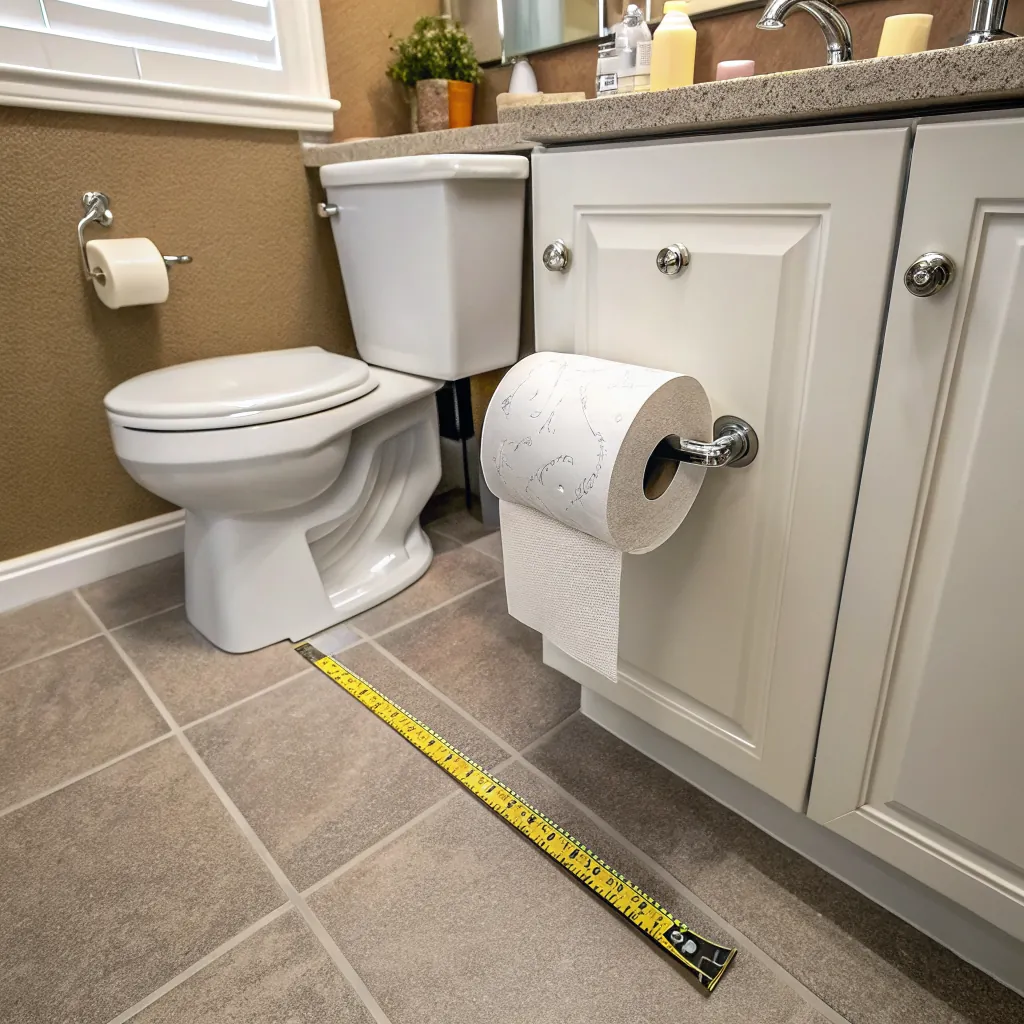
The 26-inch standard comes from common ergonomic practices, but bathrooms with children, elderly users, or accessible requirements may need adjustments. Always measure before cutting. Consider surrounding fixtures like sinks, cabinets, or toilets that may interfere. Double-check that the holder is centered with respect to the toilet for easy reach. Some homeowners prefer slightly higher for larger toilet paper rolls. The goal is functional placement while keeping the aesthetic flush design intact. Mark the height clearly and verify with a level before cutting.
Height Guidelines Table
| User Type | Recommended Height | Notes |
|---|---|---|
| Average Adult | 26 inches | Measured from floor to holder center |
| Children | 22-24 inches | Easier reach for smaller users |
| Elderly or Accessible | 24-26 inches | Adjust for seated reach |
| Custom Preference | Variable | Ensure roll spins freely |
Recessed holders look cleaner than external mounts, but proper height ensures they are practical. Measuring, leveling, and testing before final mounting avoids mistakes. Considering user needs and bathroom layout helps prevent repositioning later. A well-placed holder combines convenience and style, making everyday use smooth.
Conclusion
Installing a recessed toilet paper holder requires the right tools, careful cutting, accurate mounting, and proper height. Following these steps ensures a secure, functional, and clean result for any bathroom.